

You may have heard about the growing popularity of Gua Sha for facial slimming and wondered how to incorporate the practice into your skincare routine. Gua Sha tools can have a number of benefits from improving complexion to treating migraine headaches, but like any tool they need to be used properly in order to be effective. Here are 9 steps for effectively using Gua Sha tools in your skincare routine:
1) Clean your hands, face, and tools:
The Gua Sha process involves a significant amount of contact with your facial skin, making the cleanliness of your hands and tools a top priority. Start by thoroughly washing your hands and drying them with a clean towel. Next we recommend cleaning your Gua Sha tools with warm soapy water and drying them with a microfiber cloth or other lint-free towel. Finally use your facial cleanser of choice, gently drying off with a clean washcloth. We recommend leaving your face slightly moist, it will help with the next step.
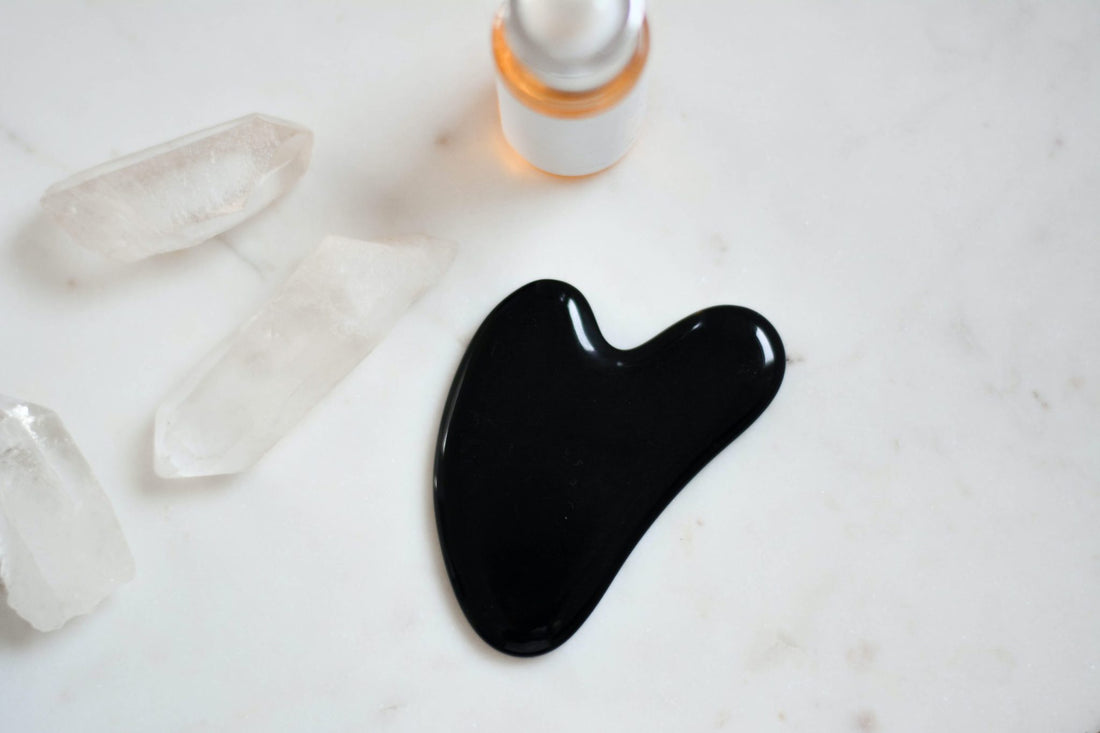
2) Apply a light oil, cream, or serum to your face:
Gua Sha tools should always be used with a carrier oil to help them glide easily over your skin. If you already use a facial oil, serum, or cream in your skincare routine go ahead and use that. If you don’t, this Parsley Seed Anti-Oxidant Serum from Aesop and this Bifida Skin Complex Serum from Manyo Factory are two excellent options to choose from. As always there is no one-size-fits-all solution here, take time to find a product that works
3) Start at the neck:
Hold your Gua Sha tools at a 30 degree angle and apply pressure while sweeping up each side of the neck. Start near your collarbone and work your up towards your jawbone, taking care not to apply too much pressure near your Adam’s apple. Make sure to only use upward movements on your neck area. This process will help tone your neckline and release muscle stress that builds while working in front of a screen all day.
4) Sweep your chin:
Start at the midline of your chin and apply pressure, sweeping the Gua Sha towards your jawbone. Like before, only go in one direction pushing out towards the jaw from the midline of the chin. As you reach the jawbone under the ear you can apply extra pressure to encourage the draining of fluids, relieving inner-ear congestion. After working through both sides you can apply pressure to the undersides of the chin. Consistent practice of Gua Sha in these areas can be particularly helpful for those who suffer from TMJ.
5) Sweep the cheekbones:
Firmly but carefully apply pressure to the cheekbones and under-eye area as you sweep across the face towards your hairline. Feel free to apply eye cream here if it is part of your skincare routine, it can help the Gua Sha glide more easily over the skin. Many find that that practice in this area relieves pressure built up in the sinuses. If your Gua Sha tools have a smaller side consider using it for this area.
6) Lightly sweep over the mouth and nose:
Gently glide the Gua Sha over the mouth, starting from the cupid’s bow and going out towards the corners of the mouth. Be mindful of where your body is carrying tension and pay particular attention towards those areas. Next sweep down though each side of the nose, applying firm pressure but being careful around the cartilage in the lower part of the nose.
7) Sweep over your eyes:
Very carefully sweep your Gua Sha across the lower part of your eye towards the midline of your face. This practice when done correctly can help relieve tension in the muscles of the eye that is a source of pain for many who experience chronic headaches. Take extra care not to apply excess pressure to the eyeball and to avoid getting skincare products into the eyes.
8) Sweep the browline and forehead:
Like before, start from the midline of the face and sweep out towards the hairline. Feel free to continue past the hairline and through the hair if it feels right for you, it’s all up to personal preference. This is another area that headache sufferers often find relief from, particularly the parts of the forehead where the sinuses are located. If your hair is long it can be helpful to tie it back before handling this area.
9) Check in with yourself:
You’re done! Take a moment to take stock of how you feel now that the Gua Sha process is complete. If this is your first time ask yourself which areas gave you the most relief. If you’ve been practicing Gua Sha for a while ask yourself where you noticed improvements. The greatest benefits from Gua Sha come from repeated practice so keep at it!